

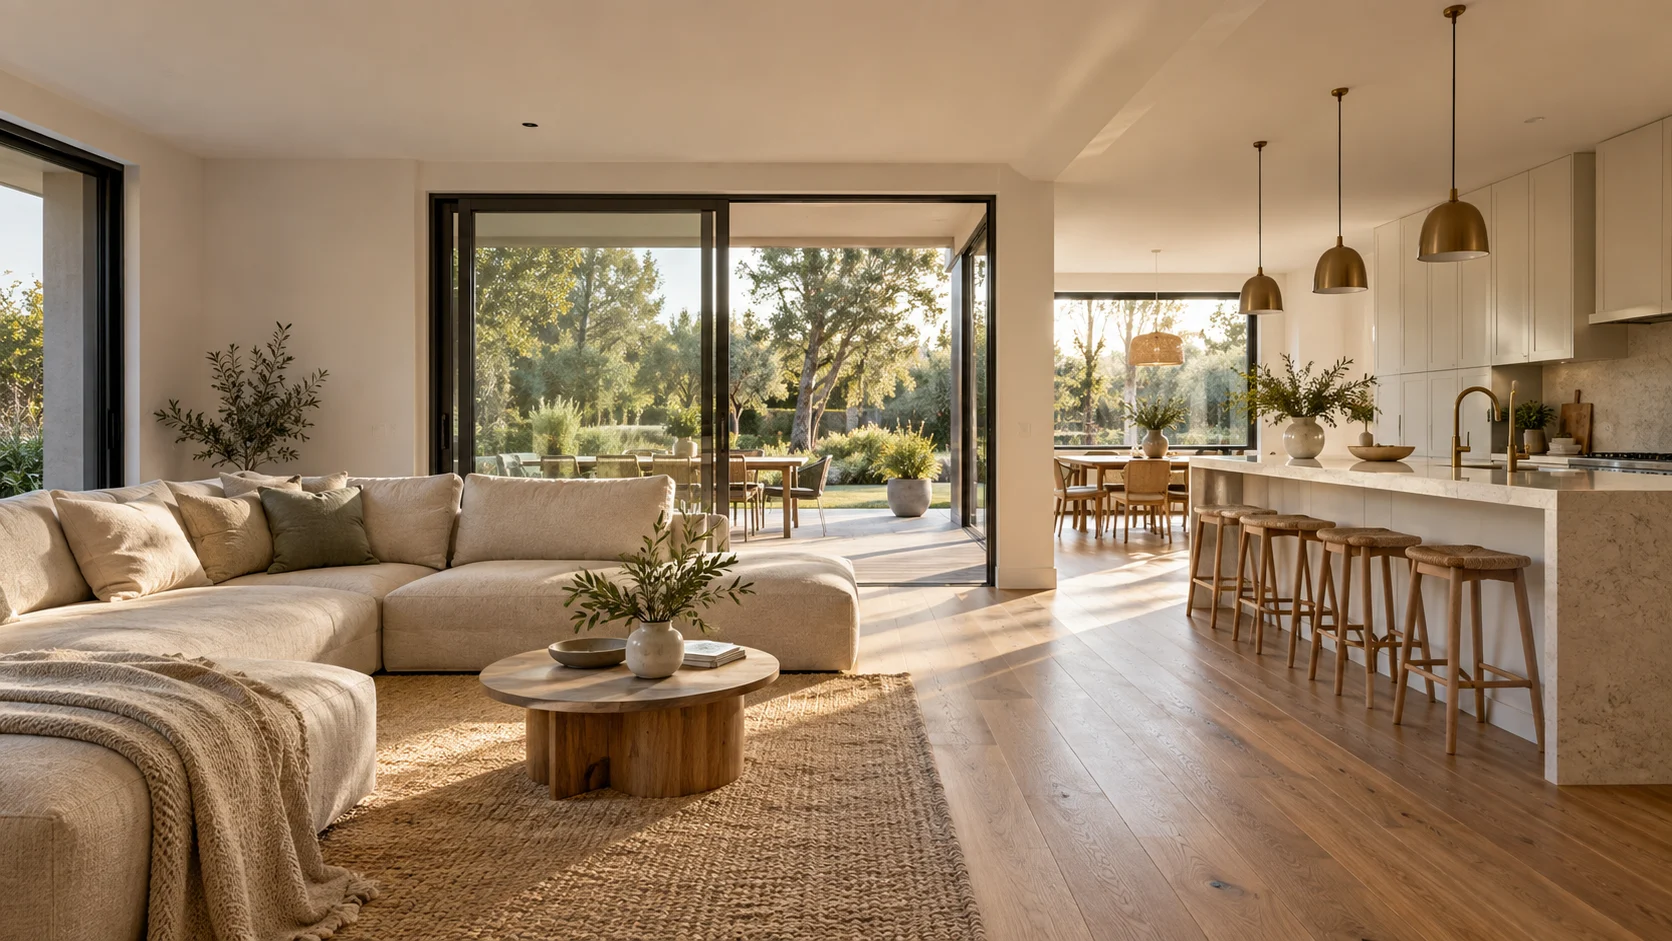
THE REELHIVE FIELD GUIDE
How to use AI video for real estate
A practical five-step workflow, from approved listing photos to a video you can review, download, and share
Start with a real listing, not a blank prompt
Learning how to use AI video for real estate starts with one decision: are you animating approved listing photos, or editing footage that was filmed on site? This guide follows the photo-to-video route
For an agent with an existing photo set, AI can add motion and assemble a short marketing video without a manual editing timeline. You decide which property is shown, which photos belong in the project, and which listing details to display. ReelHive’s property-focused workflow is designed to keep the video faithful to your photos while handling the production work
ReelHive uses the photos you choose, their order, a fixed visual style, and your selected format and music. It does not ask you to write prompts or pick an underlying model. Keep the brief simple: show the property clearly, highlight its strongest spaces, and give viewers a reason to arrange a real viewing
Compare AI real estate video tools if you are still choosing a workflowBefore you start: assemble approved assets
Use final listing photos that you have permission to publish. Confirm the address and any facts you intend to display against the current listing record. Keep your logo ready if your plan supports it, but check the destination’s branding rules first. A social post and an MLS upload may have different requirements
- Remove near-duplicate angles, unfinished edits, visible personal information, and images from a different property
- Choose clear, well-lit images with legible architecture. Reflections, mirrors, thin railings, and small details deserve extra review after generation
- Choose your main publishing destination before generating: a landscape listing presentation or a vertical social video
Step 1 — Choose and order your listing photos
Begin with the exterior or the strongest living space, then move through shared rooms, the kitchen, bedrooms, and outdoor features in a sequence a buyer can follow. Put the most useful image first rather than opening with a long logo card. Avoid jumping repeatedly between interiors and exteriors unless the sequence has a clear purpose
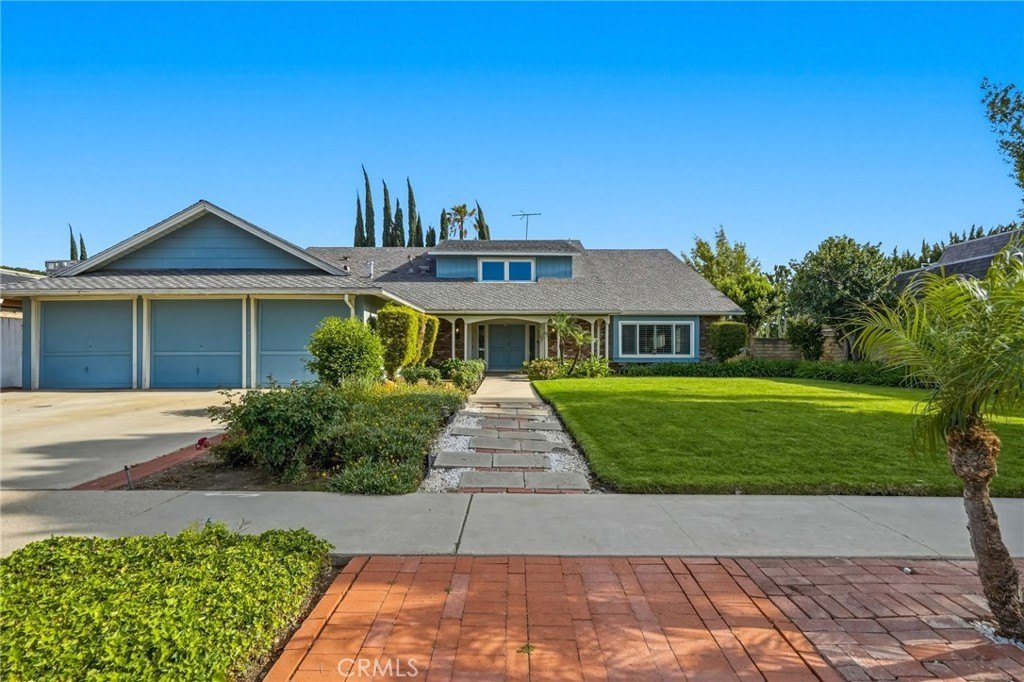
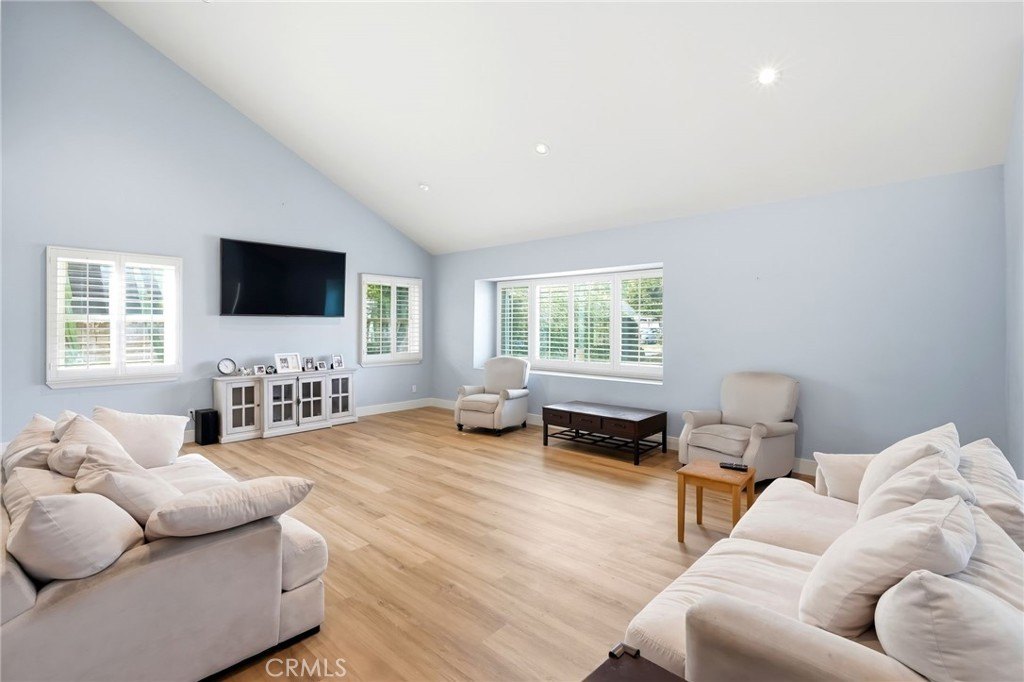
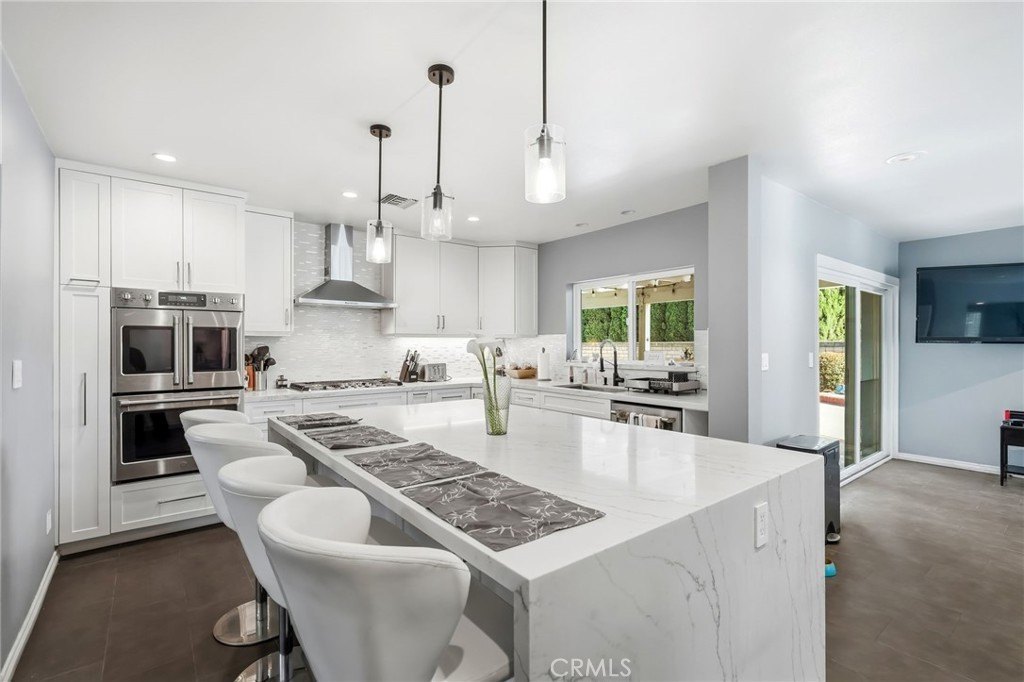
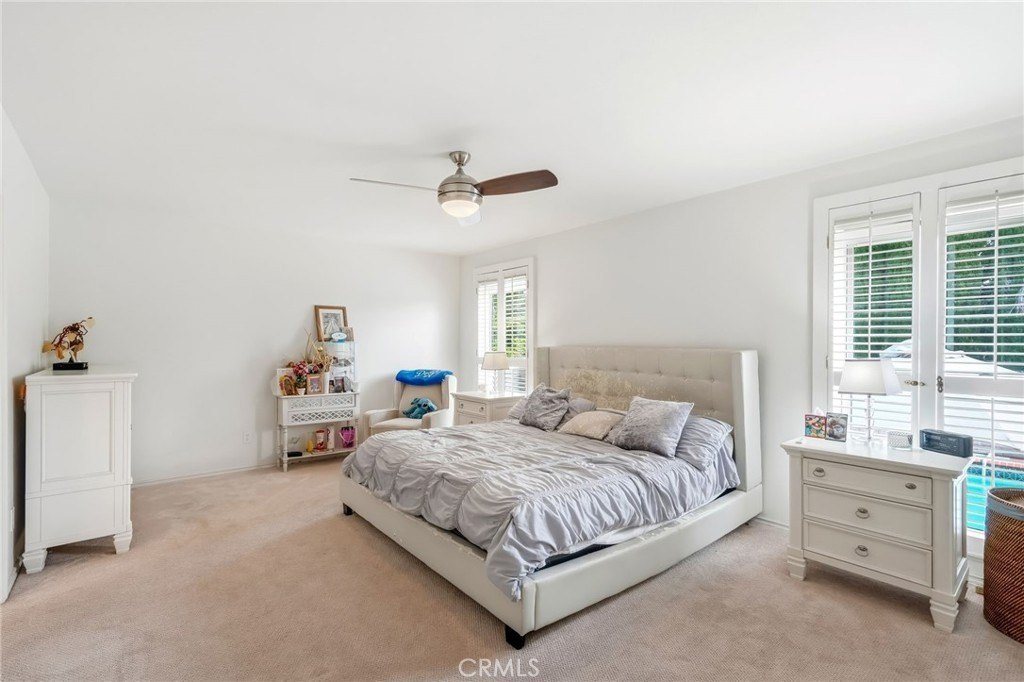
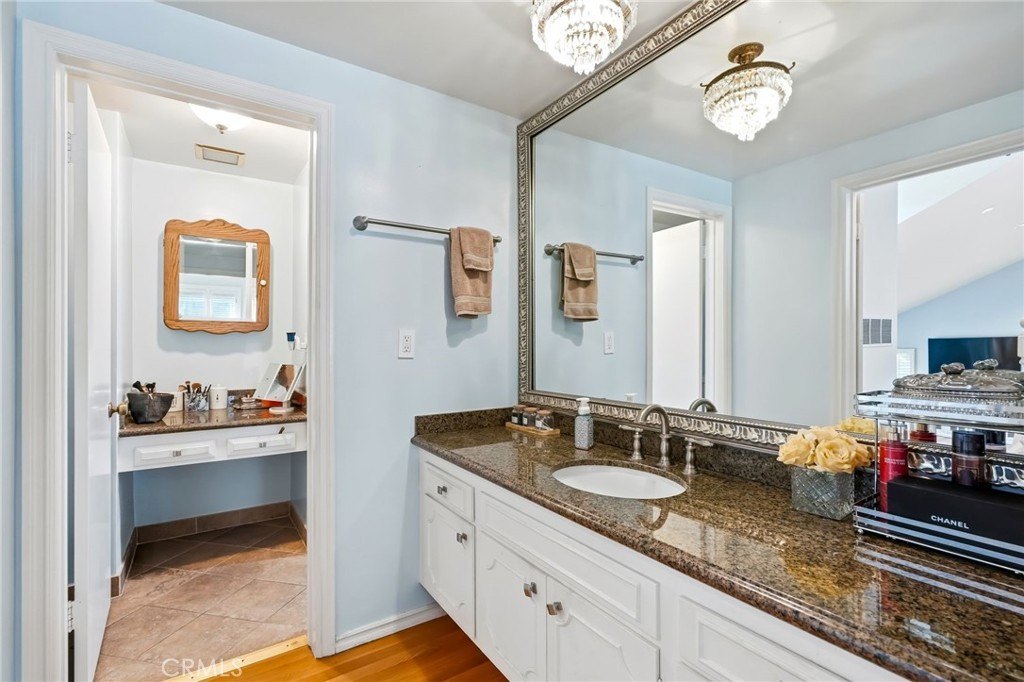
A varied photo set gives you more room to tell the property’s story. Paid plans support up to 20 photos per video, so you can show the exterior, living spaces, kitchen, bedrooms, bathrooms, and outdoor features in one fuller presentation. The five images below illustrate a simple sequence; add the other rooms and distinctive details that matter for your listing. Free includes up to five photos per video for a quick introduction to the workflow
Step 2 — Choose a format, style, and soundtrack
Choose 16:9 for a landscape presentation on your website or YouTube, or 9:16 for a vertical introduction on Reels, TikTok, or Shorts. These are starting points, not a guarantee of acceptance by a listing portal. Check the destination’s current specifications and preview the framing on the device where it will be watched
Landscape listing presentation
Check the width of room views, text placement, and the overall sequence
Vertical social introduction
Check that the crop preserves the property’s key details and leaves room for app controls
Luxury, Modern, and Social are fixed styles in ReelHive. Choose a visual direction that supports the property rather than trying to make every home look like a luxury estate. Select background music, keep property text concise, and add a logo or brand color only when your plan and publishing destination allow it
Choose your style and format in the homepage toolStep 3 — Generate from the approved sequence
On the homepage, upload photos from your device or paste a supported Zillow, Realtor.com, or Redfin listing link to find and select the property images. Arrange the selected photos, choose a style and ratio, and review the music and optional listing details. You can prepare the configuration before signing in. When you click Generate, sign in on the same page if prompted; after registration or login, explicitly continue when you are ready
Once the request is accepted, the project moves into the generation queue. Wait for the finished result in the homepage preview instead of sending repeated requests. Generation time depends on the queue and the project; this guide does not promise a fixed turnaround. If a project fails, read the displayed status rather than treating an unfinished preview as a usable export
Import your listing photos and create a videoNo prompt writing is needed. Upload your photos or import them from a supported listing link, then choose your sequence, style, and format
Watch three existing video examples
Watch these ReelHive videos to study motion, shot sequence, and framing. The complete landscape tour shows how a longer presentation feels; the shorter landscape and portrait examples show how different framing changes the emphasis
Step 4 — Review every scene before publishing
Watch the finished video from beginning to end and check the property details, framing, and transitions. ReelHive’s real estate photo workflow focuses on preserving architecture, materials, furniture, and colors. Minor visual differences can occasionally appear in AI-generated motion, so a quick review helps you make sure the presentation matches your listing
Architecture
Compare doors, windows, room proportions, built-in features, and outdoor boundaries with the approved photos
Listing facts
Verify every address, number, feature, and piece of property text. Remove outdated claims before publishing
Framing and legibility
Preview on a phone as well as a larger screen. Look for cropped features, small text, and interference with app controls
Branding and audio
Check logo placement, platform watermarks, soundtrack suitability, and any destination-specific branding restrictions
If you notice a detail that needs attention, check it against the original photo before publishing and review your image selection and configuration. Contact support if you need help with the result
Read the broader real estate video editing guideStep 5 — Download and publish for your destination
Download the approved export and view that actual file before uploading it anywhere. For a listing page or YouTube, use a landscape presentation with a clear description. For vertical social feeds, use a concise introduction and a caption with verified property details and a next action, such as contacting the agent or arranging a viewing
Upload manually to your chosen channel; ReelHive does not automatically publish or schedule posts. Check the current MLS, portal, brokerage, and advertising rules before submitting. Do not assume that a logo, watermark, music track, or AI-assisted clip is accepted everywhere. Present generated video as marketing content, not as a continuous filmed tour or a verified floor plan
When you still need a real camera or an editor
Use real footage when a buyer needs evidence of circulation between rooms, an aerial view, an interview, ambient sound, or a detailed architectural feature. A photograph cannot establish unseen geometry. For a high-value property whose story depends on these details, a filmed tour and specialist editing can be the better choice
AI photo-to-video can complement that work with a short introduction made from approved photos. It should not invent a view, remove a permanent feature, stage a room without appropriate disclosure, or simulate a renovation as if it were completed. Check local professional obligations and your publishing destination’s requirements with the responsible broker
Your repeatable pre-publication checklist
- Approved photos and current listing facts
- A deliberate image order, not an unfiltered upload
- The correct ratio, style, music, and allowed branding
- Every generated scene checked against the property
- The downloaded file reviewed and the destination’s rules confirmed
Questions about the AI listing-video workflow
Do I need to write prompts?
Not for ReelHive. You choose photos, order, a fixed style, ratio, and music. The workflow does not ask you to select a model or write a camera prompt.
How many photos should I use for a complete listing video?
Use a varied set covering the property’s main spaces and strongest selling points. Paid plans support up to 20 photos per video, giving you fuller coverage of the exterior, living areas, kitchen, bedrooms, bathrooms, and outdoor features. Free supports up to five photos for an initial trial; choose a paid plan when you want a more complete listing presentation.
Should I choose a landscape or vertical video?
Choose 16:9 for your website, listing presentations, and YouTube, or 9:16 for Instagram Reels, TikTok, and YouTube Shorts. Select the format that best fits your publishing destination.
Does ReelHive edit my raw walkthrough footage?
This workflow starts with still property photos, not raw footage. Use a video editor or a specialist when your project depends on recorded tours, interviews, or precise timeline control.
Can I post an AI-assisted video to an MLS?
Check your MLS and brokerage rules before uploading. Branding, watermarks, music, and disclosure requirements vary; no blanket acceptance is promised.
How faithfully does ReelHive preserve the listing photos?
ReelHive’s generation workflow is tailored to real estate photos, with a focus on preserving the original architecture, room layout, materials, furniture, and colors. Minor visual differences are still possible, so we recommend a quick preview before publishing.
Show more of the property with your photos
Gather photos covering your listing’s main spaces and selling points, upload them or import a supported listing link, and build your video in the homepage tool. Choose a paid plan for a fuller presentation with up to 20 photos
Try with your listing photos2 free videos for new accounts · No credit card required